Top 10 Tips – Getting started with planning
So you bought your first planner and you are not sure how to get started with planning. You have your pretty new planner right in front of you and a pen in your hand but you are hesitant to write the first few words. There is a lot of information online and so many pretty layouts that can be confusing and perhaps intimidating.
*** This post contains affiliate links. By purchasing an item through an affiliate link, I earn a small commission at no extra cost to you. ***
Getting started with planning
That’s how I felt when I got my first planner a few years ago. Even now with every new planner that I get, I feel that I don’t want to mess it up and set it up in a way where it works.
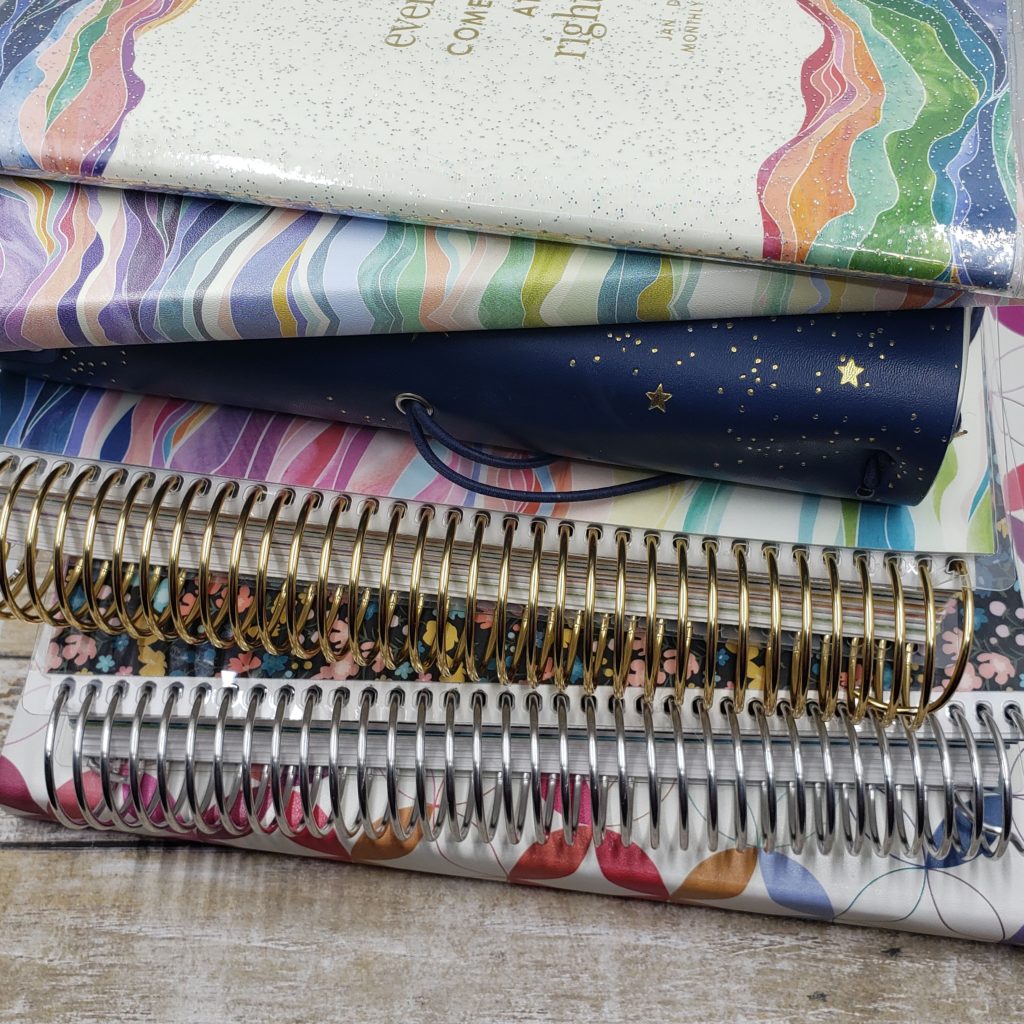
Here are a few tips that helped me get my new planner set up and ready to be used. The planner that I am using is the Erin Condren Life Planner. If you like to get more information on this planner you can check out my Erin Condren LifePlanner Review.
If you are interested in purchasing the same Planner and are new to Erin Condren, you can use my affiliate link to receive $10 off your first order. I will also receive $10 off my next order.
1. Sticky Notes
One of the first things that I like to do when I get my new planner, is writing all the important dates, events, and appointments on sticky notes and place them in my planner. Maybe you received a wedding invitation and the day is 6 months away or you have your vacation days booked for the whole year. The sticky notes help you pre-plan for all of this but it is not written permanently in your planner. That way, if anything changes in the future, the sticky note can easily be moved to a different date.
2. Important Info
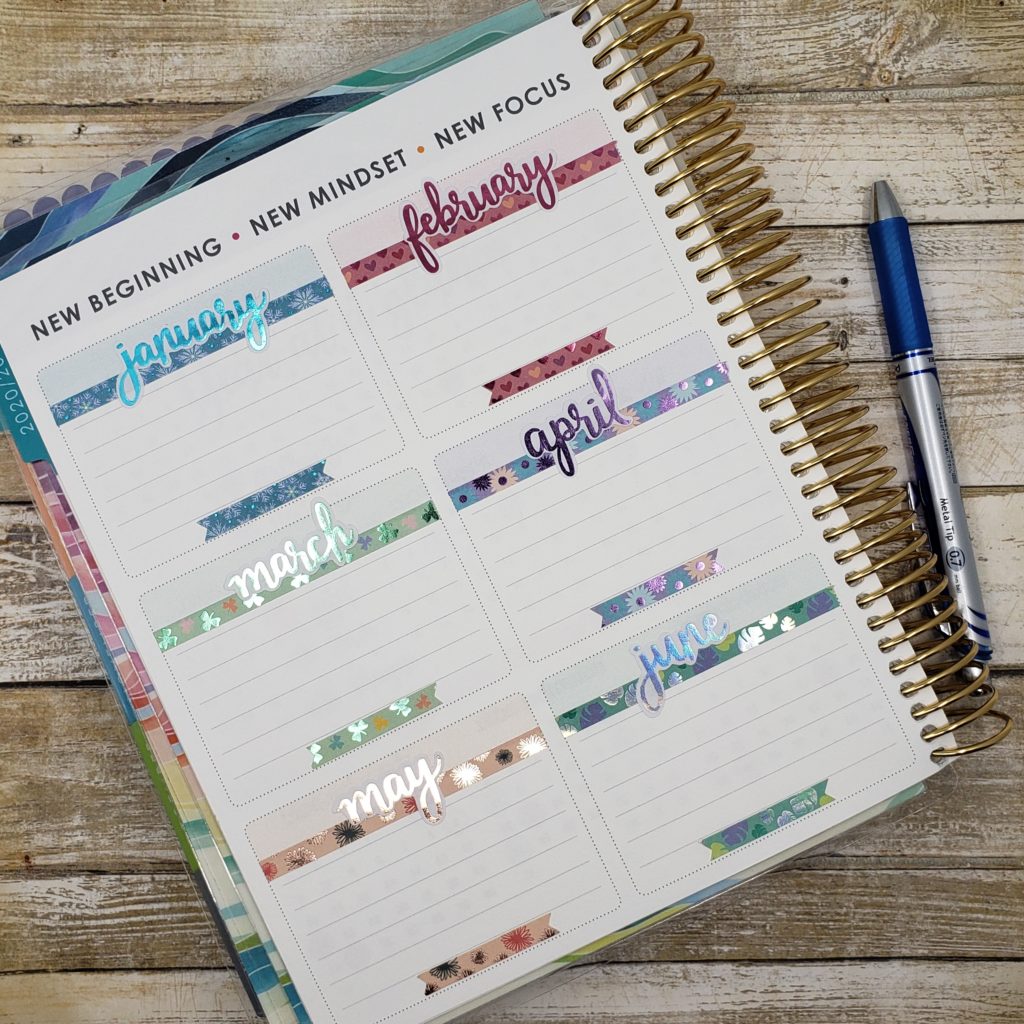
The next thing that I would do in my planner, is marking all the important birthdays and holidays. Since these don’t change, you can write them directly in your planner. You can do that just on the monthly overview page and/or on the weekly/daily pages as well.
3. Colorful Pens
I like using colorful pens to help emphasize important information or to bring some color to my layouts. You can draw little doodles as well. Colorful pens are also great for color-coding which I will talk about next.
4. Color-Coding
You can use color-coding to distinguish between different kinds of events such as school, work, or family-related. If you have kids, using a specific color for each kid can help to keep track of their school events, sport or music lesson, playdates, and so on. I usually use purple for my appointments and my son’s appointments and school events are orange. Blue for my husband and yellow for the dogs 🙂
5. Washi Tape
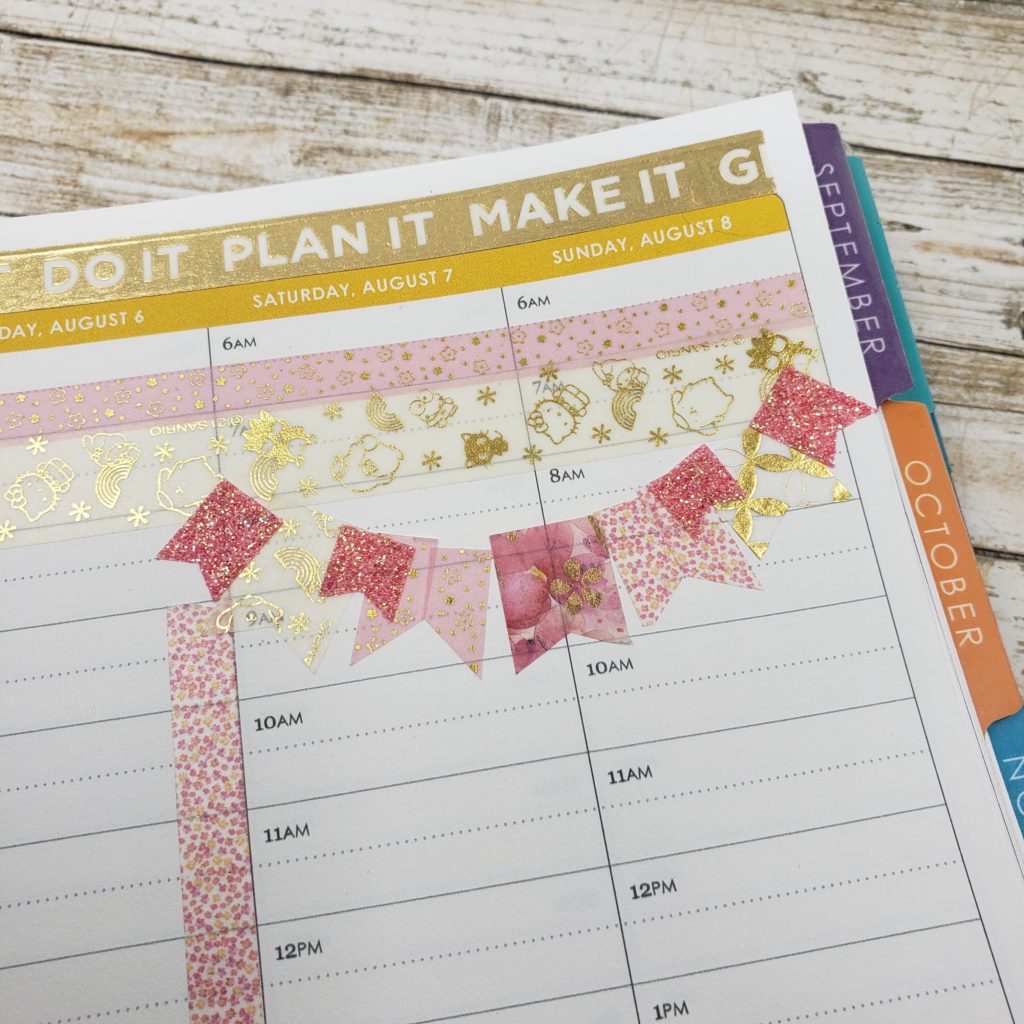
A great way to easily decorate your planner is to use washi tape. Washi Tape comes in many different colors and designs and is available in craft stores. It has many different uses and can be cut to any size to fit your planner. In the picture below, I cut different kinds of washi tape into flags and made a weekend banner out of it.
6. Stickers
Stickers are the most common way to decorate planners. If you are just getting started with planning, stickers will make it fun and easy. There are many sticker kits available that come with a variety of different stickers. There are habit tracker stickers, weekend banners, flag stickers, quarter, half, and full box stickers, quote and script stickers, day headers, and washi strip stickers. Some stickers are just for decorating, while others are functional like checkboxes and labels.
7. Photos
I enjoy using photos in my planner. I usually size them in word and print them on sticker paper. They are a great way to add a little memory planning to your planner. For example, if you went on vacation last week and laid on the beach all day but didn’t have any to-dos or appointments on that day (who does on vacation?), use the beach photos to fill in the blank spaces. It will be nice to look back and remember 🙂
8. Monthly Theme
A lot of planners have monthly themes that usually use a specific color or design for each month. I like staying with the monthly theme and try to use stickers, pens, and washi tape that is a similar color.
9. Fill empty spaces
There are days when there is really not much going on and you have just a big blank space in your planner. Fill in these spaces with photos, quote stickers, or some extra washi tape.
10. Plan next week
Every Sunday I sit down and plan the next week. I start decorating and copying my appointments and events from the sticky notes onto the planner pages. I am also setting up my to-do list, meal plan, and habit trackers. That way when the new week starts everything is already prepped and ready to go.
I hope this post helps you to get started with planning. Check out my Instagram @melhasplans for planning ideas and layouts.
Please subscribe to my blog below to get notified when to posts are published. Thanks so much for reading.

I will have to try some of these with the new school year approaching as I love to get organised and plan ahead great advice!
Colorful pens and color-coding items for the win! I totally agree that those are helpful tips. Nice job. 🙂
I’ve tried few times to plan in my bullet journal but I always drop after fesw time. I will see if I can do it again, because I like it.
Planning is so essential especially if you have a busy schedule. I would like to get back into journaling. Definitely going to give it a go. Thanks for sharing